Moving Tips-Packing A Coffee Mug
STEP 1. Gather your supplies
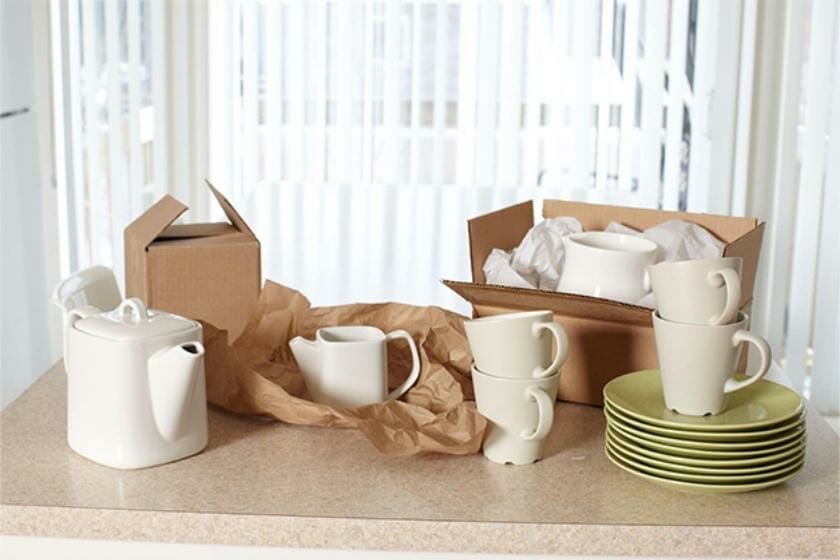
The first step to packing your favorite coffee mugs is gathering your supplies. You’ll need bubble wrap, packing paper, boxes, and markers. You should be more careful in wrapping if its a double walled glass mug.
You should always start by wrapping the good stuff in bubble wrap.

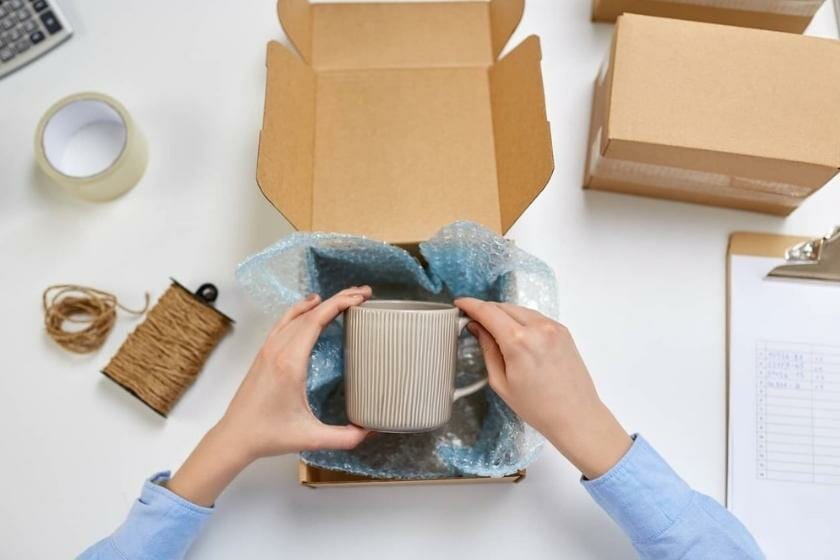
Make sure to cover every inch of the object so that it doesn’t break or chip during shipping! Then place it in the box carefully so that it doesn’t move around too much.
Once all of your breakable items are wrapped and packed away safely into their boxes, you can start filling up any open space with packing paper until there’s no more room left for anything else!
STEP 2. Bubble wrap
- A sheet of bubble wrap is the best packaging material for your perfect coffee mugs. It protects the fragile ceramic from scratches and impact, it’s an insulator, it’s a cushioning layer, and it acts as a shock absorber. The bubble wrap also prevents moisture from entering the package—which is especially important when you’re moving across state lines or even further!
- To use this packing material effectively: Simply insert each mug into its own layer of bubble wrap at an angle so that it doesn’t roll around while you pack up other items in your box. Then fold over one corner of each layer to secure them together and make sure that nothing is sticking out of any sides of the box unnecessarily (you’ll want to do this step carefully). If you’re using multiple layers of cardboard boxes on top / below each other during your move, make sure there aren’t any gaps between them either—this will ensure that no air gets inside those spaces which could cause damage to fragile objects like mugs during transportation!
STEP 3. Wrap your mugs in bubble wrap
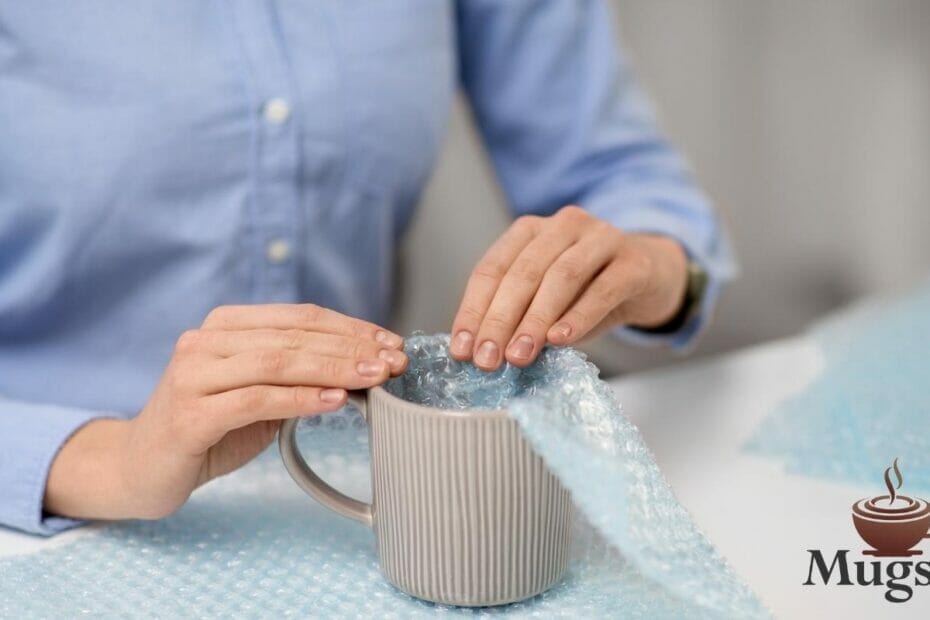
Now that your mugs are wrapped in newspaper paper sheets, it’s time to wrap each one in bubble wrap.
Make sure you use a layer of bubble wrap around the opening of your mug so it doesn’t get scratched during transit.
Place the entire wrapped mug inside another box and repeat this process until you have a full box of mugs.
STEP 4. Put layers of packing paper in the box
- Put layers of packing paper (or bubble wrap) in the box.*
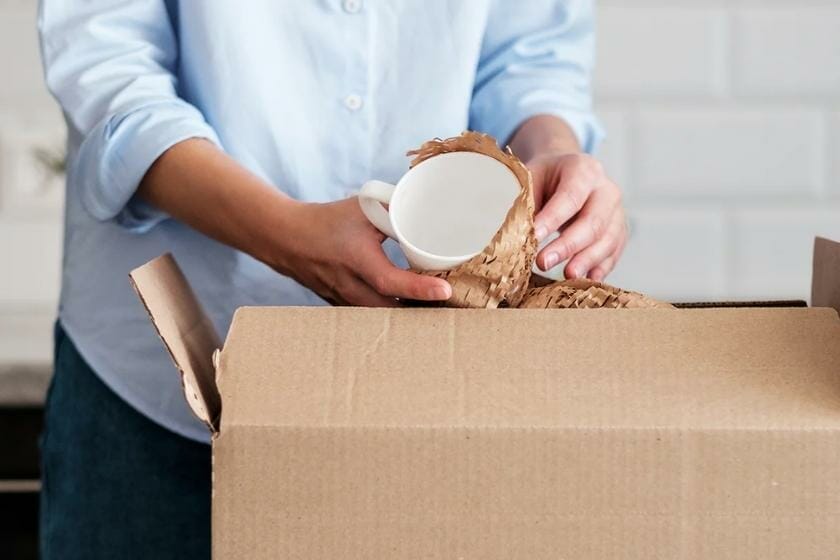
You’ll want to put a layer of packing paper at the bottom of your box, then another one on top of that. This is because it will keep things from moving around and breaking inside your moving truck.
- Place your mug/plate sets on top of this layer so they don’t get damaged during transport.*
Then put another layer of packing paper on top of them, filling up any empty space left in the box. This will protect everything inside it!

STEP 5. Place your bubble-wrapped mugs and plates in the box
That’s it! You’re all done.
Make sure your boxes don’t overfill and make sure there is enough room for the mugs and plates to move around comfortably.
Don’t pack your cardboard box too tightly, as this can cause damage to your household items when they’re moved.
STEP 6. Get more layers of packing paper ready
- Get more layers of packing paper bundles ready. Now that you’ve finished wrapping your mugs, it’s time to get some more packing paper ready. Packaging materials are your best friend when it comes to moving. The right way to use them is by packing yourself down with as many layers of packaging materials as possible! You’ll want at least two or three sheets of newspaper in between each layer, but if you can add even more than that, great! The more layers of something between fragile items and the box itself (or other objects), the better chance those objects will have of arriving in one piece.
- Use packing paper to fill up any empty spaces inside the box. Once you’ve wrapped all your breakable things up in newspaper, wrap them again with packing paper for extra protection—and this step will also help make sure nothing slips through any cracks or spaces created during transit.* Use packing materials for heavy or breakable items only: Do not try wrapping glassware with regular plastic wrap! It won’t work very well; instead, try using bubble wrap or other types of cushioning packs like Styrofoam peanuts.* If there’s room leftover in your box after putting everything else away safely (and there should be), consider putting something soft like towels on top of furniture pieces like chairs so your beloved items don’t get damaged while being transported
STEP 7. Fill up the box with packing paper
Step 7: Fill the box with regular wrapping paper or packing paper.
Now that you have everything neatly packed, it’s time to fill up your box. Make sure there is enough space around all sides so that nothing can move around while in transit.
If using multiple mugs together, tape them together before placing them in your box. I like to use packing paper over newspaper because it’s a more cushioning material and won’t tear easily when unpacking at your new place!
Don’t overfill the box or use too much tape on one side (you’ll end up with extra weight).
If you have any fragile items, such as glassware or ceramics, wrap them carefully before placing them inside your mug packer.
The last thing you don’t want is for something valuable to break along its journey from one home to another!
You can pack mugs for moving easily if you follow these steps

You can pack your beloved coffee mug for moving easily if you follow these steps:
- Wrap each mug in bubble wrap. If the mugs are small enough to fit into an empty box, then place them inside. Otherwise, lay down some packing paper and place the wrapped mugs on top of it.
- Fill in any empty space with newspaper or other filler material that will prevent breakage during transport.
Of course, if you’re gifting a coffee mug – you should use more novelty wrapping things. Here’s our article on what goes well with a coffee mug gift.
